
Farmer’s carry: carry well, progress with control.
Build control with every step: train your grip and trunk stability with clear technique, an appropriate load and a practical four-week plan.
Getting started & progressing
See the technique →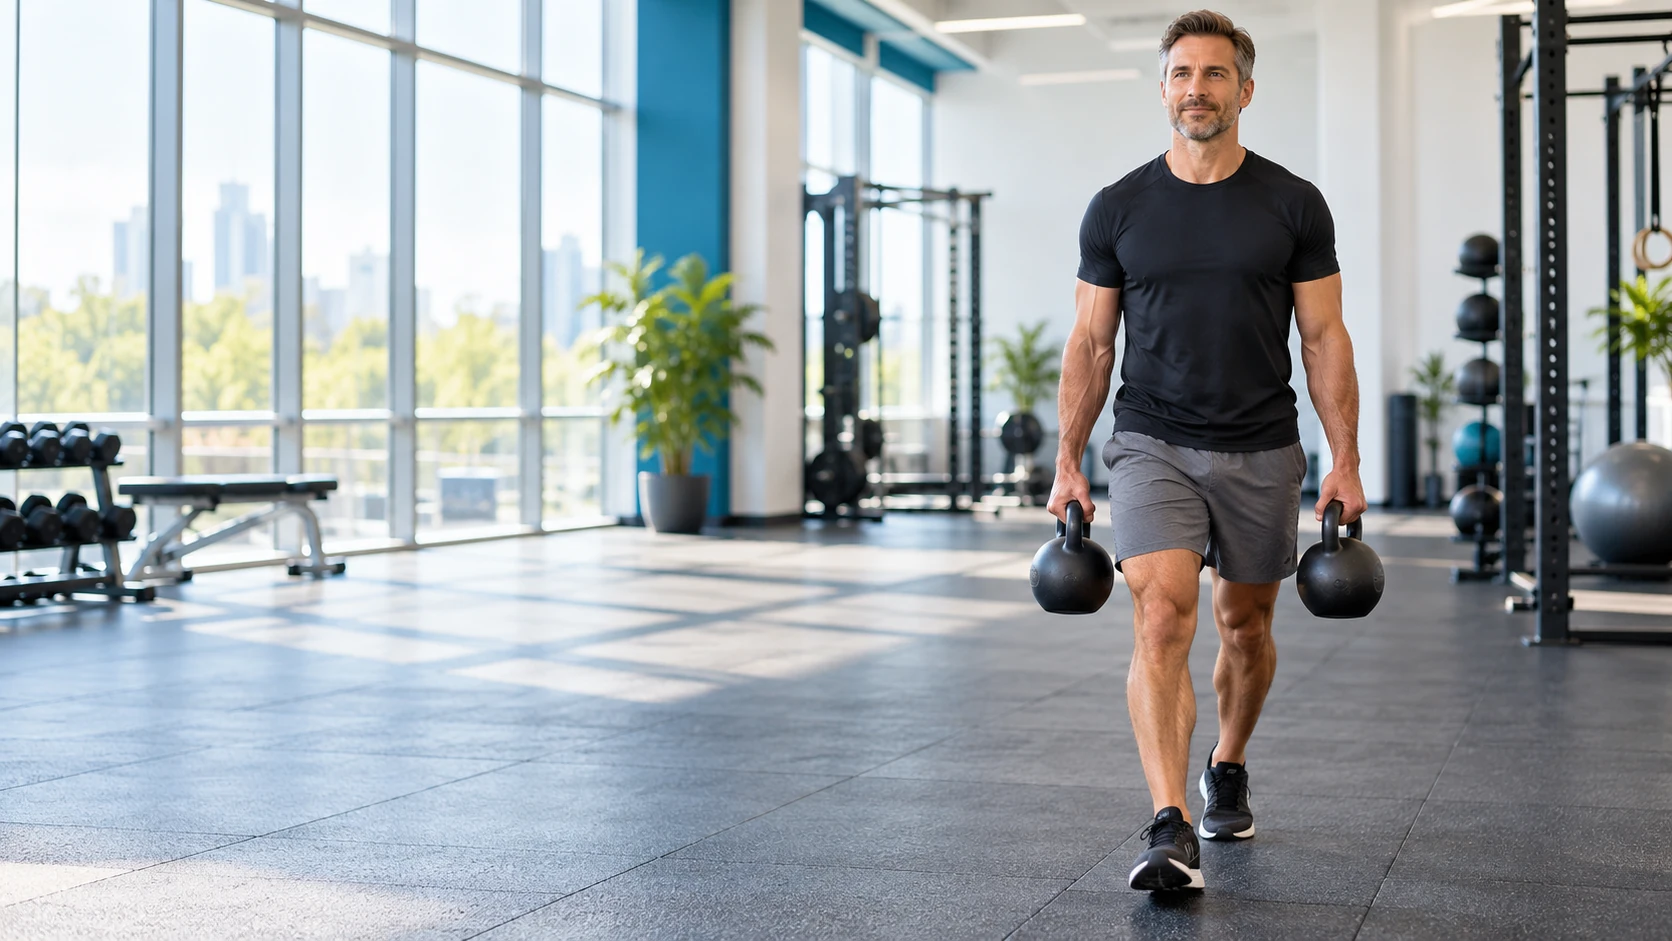
In this guide
Advertising: This article contains labelled Amazon affiliate links. As an Amazon Associate, we earn from qualifying purchases. Your price stays the same. Links lead to Amazon.de.
The essentials in 60 seconds
In a farmer’s carry, you walk with a weight at each side. The main task is to keep your grip secure and your body controlled as you move. A suitcase carry places the weight on one side only.
Two light weights, 10–15 metres, then 60–120 seconds of rest. Two sets are enough to get familiar with the movement.
Stay upright, keep breathing and remain able to set the weights down under control at any point.
Carries complement a strength programme. They do not replace squats, pulling exercises or aerobic training. For general fitness, consistent strength training adapted to the individual matters more than a complicated routine.[1]
Which muscles do farmer’s carries work?
Your fingers and forearms hold the handles. Your shoulder girdle and trunk stabilise the load while your hips and legs keep you moving. Carrying on one side adds an uneven load: the aim is to stay upright without being pulled sideways.[2]
The demand on individual muscles varies with the weight, handle, pace and distance. Carries can therefore be a useful addition for grip endurance and walking under load, without guaranteeing pain relief or a particular change in posture.
Preparation: space, weights and a three-minute warm-up
For this introduction, you should be able to walk steadily and pick up light weights without symptoms. After a recent injury or operation, or with unexplained symptoms during exertion, seek individual guidance on suitable loading first. Pain or dizziness is a reason to stop.
- Clear the route: choose dry, level ground and shoes with good grip. Keep children, pets and obstacles away. Walk the route without weights first.
- Prepare the movement: walk easily for about a minute. Follow with five gentle hip-and-knee bends without weights and a few controlled sit-to-stand movements.
- Rehearse the pickup: lift very light weights, hold briefly and put them down again. A short trial walk helps you check your grip and clearance beside your legs.
Short on space at home?
Start by holding a weight in each hand while standing for 10–20 seconds. On a short route, put the weights down at the end and reset for the next length. Avoid tight, quick turns with a heavy load in this introductory routine.
How to do a farmer’s carry: four steps
1. Pick up the weights
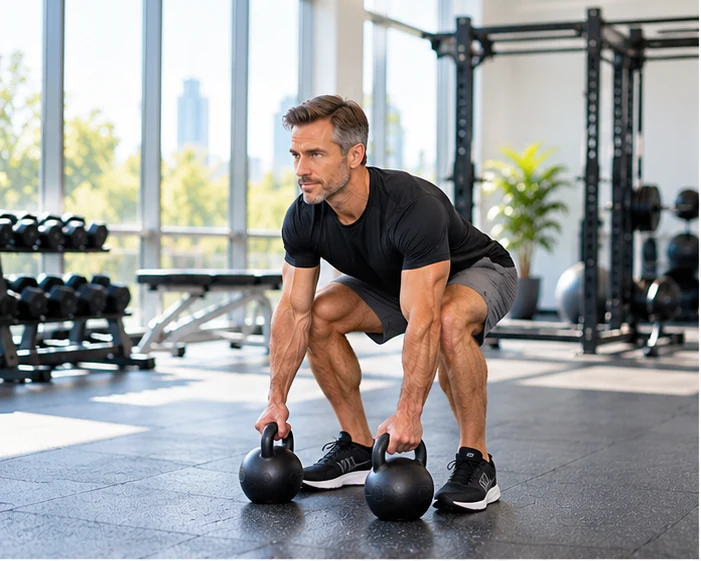
Position two equal weights so you can reach them close to your body. Stand with your feet about hip-width apart. Bend at the hips and knees, close your hands around the handles and stand up smoothly. Keep your trunk comfortably braced and avoid twisting as you lift.
2. Set your posture
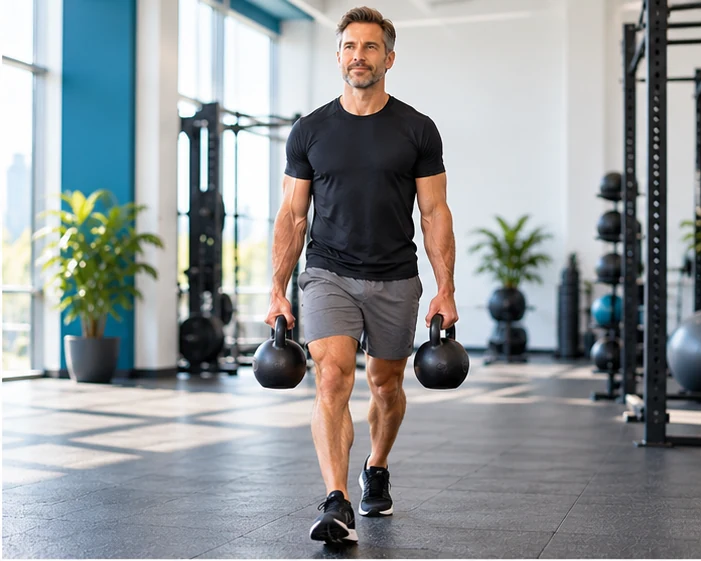
Stand tall, look ahead and let your arms hang at your sides. Keep your wrists reasonably straight. Do not shrug or force your shoulders backwards. Brace your abdomen enough to stay steady while continuing to breathe.
3. Walk steadily
Take controlled, relatively short steps. Keep the weights quiet at your sides without hitting your legs. Aim to keep your shoulders and pelvis level. End the set before the handles start slipping or your body begins swaying.
4. Put the weights down under control
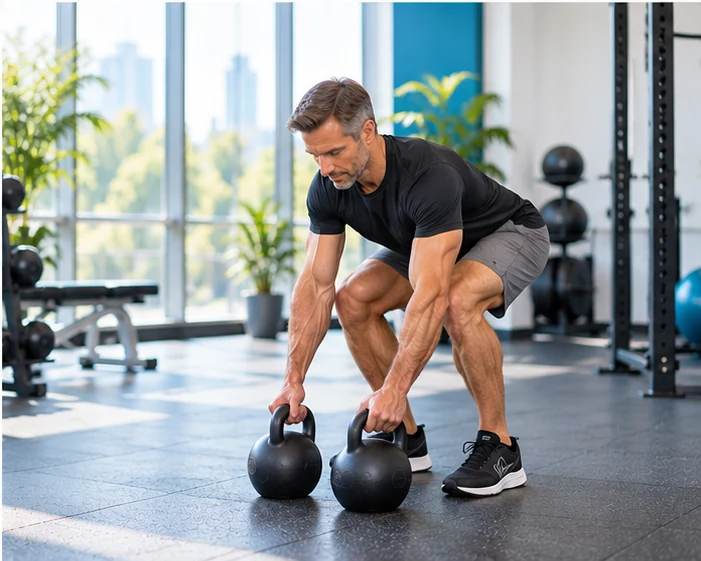
Stop walking first and establish a stable stance. Bend at the hips and knees to lower the weights rather than dropping them. Plan the finish from the start: the set is complete only when both weights are safely down.
A cue for every set
Lift smoothly · walk tall · keep breathing · put down safely.
Suitcase carry: one weight, train both sides
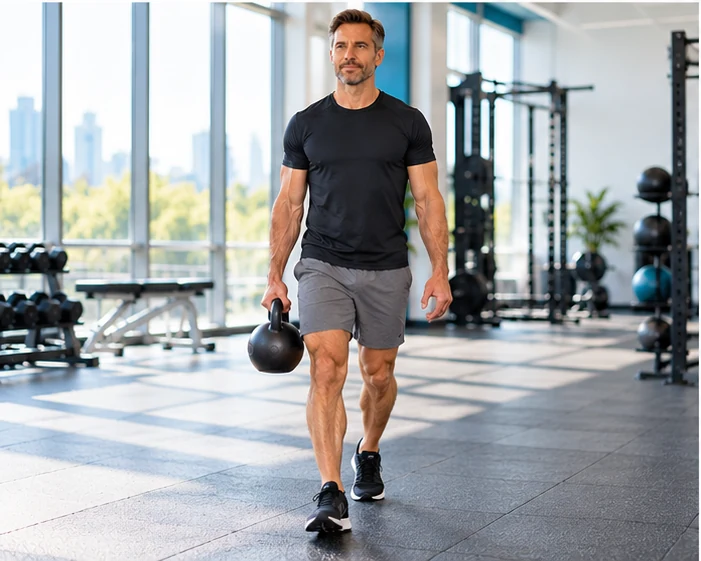
In a suitcase carry, one weight hangs from one hand. Keep your shoulders and pelvis as level as you comfortably can, without a pronounced sideways lean. This changes the demand on trunk control; it is not automatically harder than a two-handed carry at every load.
- For your first attempt, use less than the weight you previously carried in one hand during a farmer’s carry. Do not compare it with the combined weight in both hands.
- Start with 10 metres, or a 10–20-second standing hold. Adjust the load independently of your two-handed carry.
- Put the weight down, rest and repeat on the other side using the same load and distance.
- Choose a load that lets your less capable side stay controlled. A strong counter-lean or constant swinging of the free arm means you should make the task easier.
You do not need both variations in every session. Learn the farmer’s carry first, then use suitcase carries as an alternative or in a second short session.
How much weight, distance and rest?
There is no universal starting weight based on sex or body weight. Your current strength, grip and walking distance are more useful guides. Always record the load per hand: “2 × 6 kg” means 6 kg on the left and 6 kg on the right, or 12 kg in total. This explains the notation; it is not a recommended starting load.
Start light enough to lift and lower the weights easily, with a clear reserve at the end. As a subjective guide, aim for about 5–6 out of 10: noticeable effort, but fully controlled. An effort rating does not replace checking your technique.
| Element | Practical starting point | Adjust when … |
|---|---|---|
| Distance or time | 10–15 m or 15–20 s | your steps become unsteady: shorten the set |
| Sets | 2, progressing to 3 | the second set is noticeably worse: reduce the work |
| Rest | 60–120 s, longer if needed | your grip or breathing has not recovered: wait |
| Frequency | 1–2 sessions per week | your hands, back or legs remain very fatigued: plan an easier session |
On small screens, scroll the table sideways to see every column.
Use distance or time to track your sets; these figures are not exact equivalents. Training to muscle failure is not necessary for many general strength goals.[1] In carries, keeping some reserve also helps you put the weights down safely.
A four-week plan: change one thing at a time
This plan is a starting point to adapt to your abilities, not an individual rehabilitation programme. Train after warming up, or at the end of a strength session while your grip and walking remain controlled. Leave at least one day without heavy carries between demanding carry sessions.
Choose one variation per session. The first training column is the farmer’s carry; the suitcase option replaces it. For suitcase carries, the distance and number of sets apply to each side. Do not add the two columns together.
| Week | Farmer’s carry | Alternative: suitcase carry | What changes? |
|---|---|---|---|
| 1 | 2 × 10–15 m | 2 × 10 m per side | Find a light starting load; practise lifting and lowering |
| 2 | 3 × 10–15 m | 3 × 10 m per side | Add one set only; keep the same load and distance |
| 3 | 3 × 15–20 m | 3 × 15 m per side | Increase distance only; keep the same load and sets |
| 4 | Repeat week 3 | Repeat week 3 | Consolidate; if fully controlled, alternatively use the smallest load increase and shorten the distance to week 1 |
Move on only when every set is controlled. Repeat a week if you are still swaying, your grip fades early or recovery is inadequate. A large jump between available weights is not a reason to progress before you are ready.
Track progress in one line
Date · variation · kg per hand · metres or seconds · sets · effort from 1–10 · technique notes. Include whether you could still lower the weights safely at the end.
Five common mistakes and how to correct them
- Too much weight: you lean sideways or backwards. Reduce the load until you can walk steadily again.
- Shrugging: relax your neck, reset your position and choose a lighter weight if needed.
- Rushing: slow down. Consistent steps matter more than a fast time in this plan.
- Carrying until the grip slips: stop earlier. Grip failure is not a useful finishing target while walking with weights.
- Increasing weight, distance and sets together: change just one factor so you can judge how you respond.
If you experience sharp pain, dizziness or unusual breathlessness, put the weights down safely and end the session. Recurring or persistent symptoms need individual assessment.
Equipment: start with weights you already have
Dumbbells and kettlebells can both work if the handles feel secure and there is enough clearance beside your legs. Use two equal weights for farmer’s carries; one is enough for suitcase carries. Check the surface, handle, base and any locking mechanism before training.
If suitable weights are available at your gym, you do not need to buy anything. For home training, a manageable starting load and small progression steps matter more than a high maximum weight. The three models featured in this guide serve different purposes; none is essential.
Looking for a lighter or adjustable model? The FitRecover kettlebell comparison (German) covers other designs. Choose the actual weight according to your technique rather than a generic beginner label.
How does this relate to everyday life?
Carries offer a manageable way to practise walking with a load. Shopping bags, luggage and work equipment can differ considerably in their handles, shape and weight distribution. Do not assume that a weight you manage in training is equally suitable for another task.
For manual handling at work, reducing strain and organising the task remain priorities. Use handling aids, shorter routes and assistance when they make the job easier. Strength training does not replace a workplace risk assessment or automatically make an awkward workload safe.[3], [4]
Frequently asked questions
How heavy should farmer’s carries be for beginners?
Light enough to walk without compensating and put the weights down safely at any time. Start with short distances and progress according to your technique. No single number suits everyone.
Is there a difference between a farmer’s carry and a farmer’s walk?
The terms usually describe the same exercise: walking with weights at both sides. A suitcase carry uses a weight on one side only.
Can I train carries every day?
This introductory plan uses one or two sessions per week. More frequent training is not automatically better; include other grip, back and leg work when assessing your total workload.
Can I practise without a walking route?
Yes. Start with a controlled standing hold. This trains your grip and control of the load, but does not include the additional challenge of walking.
Do I need lifting straps?
Not for the grip-focused introduction described here. If you cannot hold the handles securely, reduce the weight or duration.
Do carries treat back pain?
This exercise does not provide a general treatment recommendation. With existing symptoms, loading should be tailored to you; pain relief is not guaranteed.
Your next step
Prepare a clear route and two light weights. Rehearse picking them up and putting them down, walk two short sets and record the load per hand. Once this is reliable, gradually add distance or another set. The quality of your movement from the first step to the last determines when to progress.
Sources and context
- ACSM (2026): Resistance Training Guidelines. General resistance-training principles and individual programming.
- Catalyst Athletics: Farmer Carry. Exercise description and training purpose.
- DGUV: Manuelle Lastenhandhabung. Context for manual handling at work.
- BG BAU: Tipps zum Heben und Tragen. Guidance on reducing lifting and carrying strain.
- HQ Germany: Powdercoat Kettlebells. Manufacturer information on cast construction and coating.
- ATLETICA QUAD 36. Manufacturer information on the adjustable dumbbell pair.
Exercise scenes are AI-generated illustrations. The product photographs show the models discussed.