
At a glance: how to structure the routine
Start with one minute of easy whole-body movement. Next, mobilise your wrists under a light, controlled load, actively move your shoulder blades and only then introduce a light band. Spend the final three minutes on the exercise you are about to train: an easier push-up, dip or pull-up variation. The aim is a calm transition into training, not fatigue.
Important when pain is present
This routine is intended as a warm-up with little or no discomfort , not as diagnosis or treatment. Sharp pain, a clear loss of strength, swelling, numbness, a recent injury or persistent symptoms at night require assessment by a doctor or physiotherapist. A movement may feel demanding, but it should not aggravate your symptoms.
Why your shoulders and wrists deserve separate attention
At first glance, push-ups, dips and pull-ups look like three completely different exercises. What they share is the need for the shoulder blades, upper arms and trunk to transfer force with control. Push-ups also place load through significantly extended wrists. In dips, the demands on the front of the shoulder increase as you go deeper. During pull-ups, the shoulder girdle must coordinate the transition from hanging to pulling.
A sensible warm-up therefore does not try to maximise mobility at every joint. It moves gradually from general movement through a controlled, active range of motion to the specific load. This approach is often broadly labelled “prehab”. More precisely, you are preparing for today's task and observing how your body responds.
What the research supports: Systematic reviews suggest that a dynamic warm-up can support subsequent performance. However, direct evidence is lacking for the claim that an upper-body warm-up reliably prevents injuries. That is why we promise neither guaranteed protection nor freedom from pain.
The 10-minute routine at a glance
Work calmly, breathe normally and always keep two to four clean repetitions “in reserve”. If you are only training push-ups, you do not need a pull-up section — choose the final phase to match your session.
| Time | Exercise | Purpose |
|---|---|---|
| 0:00–1:00 | Easy walking, step-ups or skipping without chasing speed | Gently raise body temperature |
| 1:00–2:30 | Open and close your fists, wrist circles, wrist rocks | Prepare the hands and forearms under a controlled load |
| 2:30–4:00 | Scapular push-ups, 2 × 6–8 | Move the shoulder blades without bending the elbows |
| 4:00–5:30 | External rotation with a light band, 2 × 8–12 | Controlled shoulder work without fatigue |
| 5:30–7:00 | Band pull-aparts or wall slides, 1–2 × 8–10 | Coordinate the ribcage and shoulder blades |
| 7:00–10:00 | An easy progression towards today's main exercise | Rehearse the movement path and grip for the specific exercise |
Step by step: how to perform it
Get moving for one minute
Walk briskly on the spot, perform low step-ups or move gently on a cross-trainer. Let your arms swing naturally. You do not need sprinting speed or a burning sensation in your shoulders.
A useful guide: you feel warmer but can still speak in full sentences.
Move your wrists freely first, then add load
Open and close your hands ten times, then make five small circles in each direction. Next, get onto all fours: spread your fingers, place your palms flat and keep your elbows slightly unlocked. Slowly shift your torso forwards and back eight to ten times.
- Move forwards only as far as the tension remains mild and manageable.
- Keep the heels of your hands and fingers in contact with the surface.
- More pressure is not a sign of better quality.

Scapular push-ups: move the shoulder blades, not the elbows
Start against a wall, on a bench or in a high plank. Keep your body stable and your arms almost straight. Let your chest sink slightly between your shoulder blades with control, then actively push away from the surface. Two sets of six to eight clean repetitions are enough.
The range of motion is small. If your head or pelvis rocks back and forth, use a higher support position.
Gentle external rotation with a band
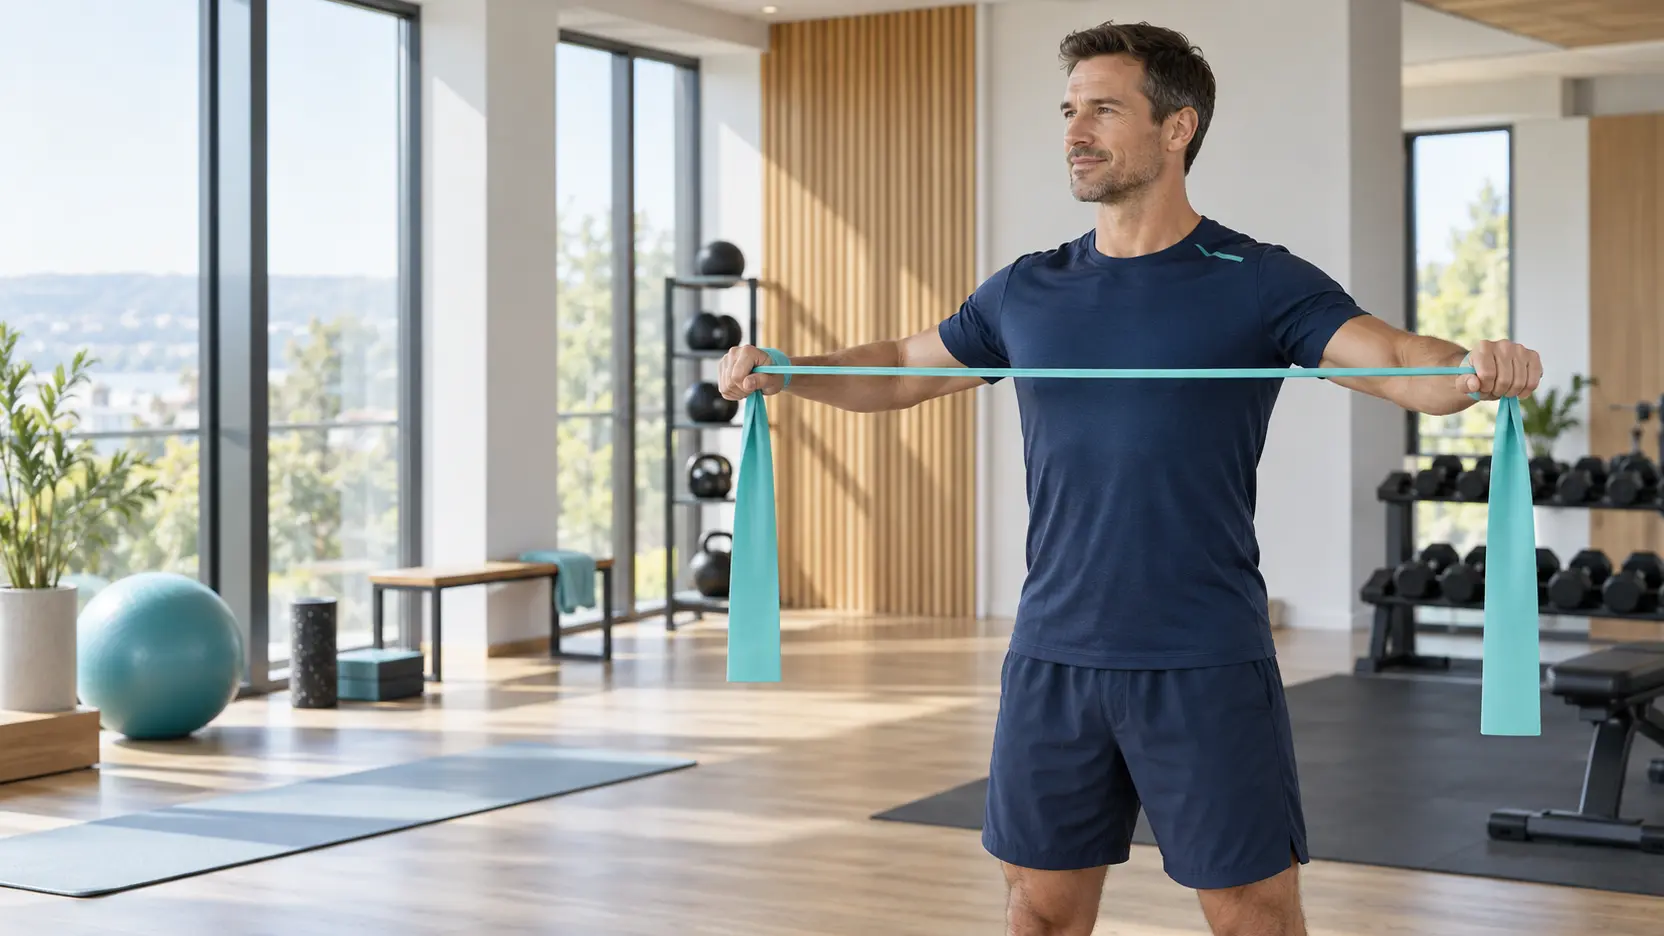
Hold a light, open-ended band at roughly shoulder width. Keep your elbows relaxed against your torso and your forearms pointing forwards. Slowly pull your hands apart without pushing your ribs forwards. Return with the same control. Perform two sets of eight to twelve repetitions.
Choose less resistance rather than more. The band should help you feel the movement, not tire your shoulders before training.
Pull-aparts or wall slides
For pull-aparts, pull a light band apart in front of your chest and stop before you compensate by arching your back. Without a band, place your back and forearms against a wall and slide your arms up and down with control. Eight to ten repetitions are enough.
Choose the variation that lets you keep your ribcage still and move your shoulders without forcing them.
Match the final three minutes to your main exercise
Now the warm-up becomes specific. Choose just one of the three options and progress from a clearly easier variation towards your planned working position.
Start higher
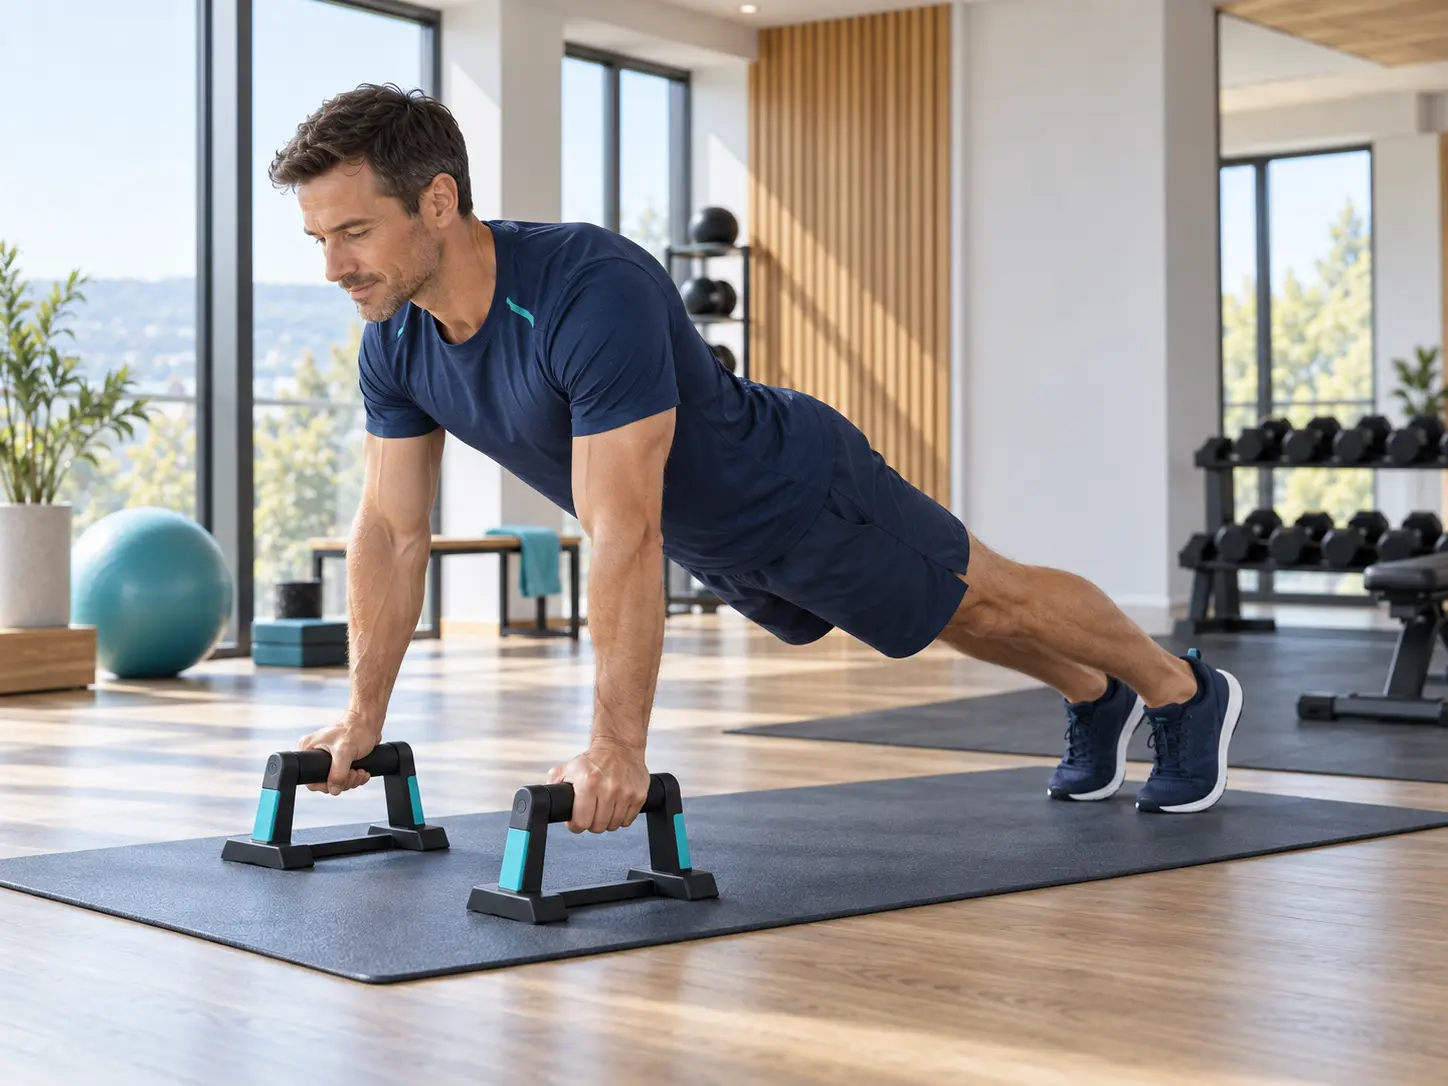
Perform 6–8 repetitions on a stable bench, then 3–5 in your working position. If substantial wrist extension is uncomfortable, rigid handles can provide a more neutral position.
Earn the depth
Hold a supported top position for 10–20 seconds with your feet on the floor, then perform 3–5 shallow repetitions. Keep your shoulders away from your ears and go only as deep as you can control.
Control the hanging load
Perform 5–6 foot-assisted scapular pulls or easy rows, then 2–3 assisted pull-ups. A painful passive hang is not something to “push through”.
Adapt the routine to how you feel today
A good routine is not a rigid ritual. It gives you information. If the first easy set feels more controlled than the previous one, you are moving in the right direction. If pain, shaking or compensatory movement increases, reduce the range and load or switch exercises.
- Stiff but with little pain: Repeat the gentle mobilisation, not the strengthening sets.
- Already tired: Halve the repetitions and save your strength for the main exercise.
- A noticeable difference on one side: Compare sides without forcing them to “match”, and train only within a range you can control well.
- No equipment today: Wall slides, elevated support positions and wrist movements also work without bands or handles.
The FitRecover principle: After your warm-up, you should feel prepared, not tested. Quality matters more than maximum mobility — especially when returning after a break.
Three useful aids — and what you actually need them for
You can do this routine without buying anything. If you practise it regularly, however, three simple products can make the setup more comfortable and repeatable. We recommend them for their function, not as a requirement.
TheraBand 2.5 m exercise band
The open-ended band makes it easy to adjust your grip width and starting tension. Light resistance is usually enough for external rotation and pull-aparts.
View on Amazon ↗Readaeer push-up handles
A possible alternative to supporting yourself on flat palms. Use only on a non-slip floor and position them securely before every set.
View on Amazon ↗Amazon Basics exercise mat
A simple surface for all-fours and kneeling variations. For support exercises, what matters most is that it does not move across the floor.
View on Amazon ↗Advertising / affiliate links: We may receive a commission if you buy through these links; your price stays the same. This does not influence our editorial assessment or ordering. Before buying on Amazon, check the model, resistance, dimensions and contents. Find more options in our resistance-band comparison and our yoga-mat comparison.
What this routine cannot do
A warm-up can structure a training session and support subsequent performance. However, it cannot identify the cause of shoulder or wrist pain or replace individually appropriate load management. Particularly with recurring symptoms, “more mobilisation” is not automatically the right answer.
Biomechanical evidence suggests that a more neutral wrist position during push-ups on handles changes how force is transmitted through the joint. This does not guarantee that handles eliminate pain or prevent injuries. Shape, stability, training volume and your individual history remain decisive.
Frequently asked questions
Should I do this routine before every upper-body workout?
You can use it before sessions involving push-ups, dips or pull-ups and shorten it to the movements you will actually train. The key is to feel prepared afterwards, rather than fatigued.
What should I do if my wrist hurts during push-ups?
Stop the painful variation. An elevated position or stable push-up handles can change your wrist position. However, they do not replace assessment when symptoms are severe, persistent or also occur in daily life.
Do I need a resistance band for this routine?
No. Wall slides and controlled shoulder-blade movements work without equipment. A light, open-ended band simply allows finer control of resistance.
Is clicking in my shoulder or wrist automatically a problem?
Sounds alone do not establish a diagnosis. If they occur together with pain, swelling, loss of strength or restricted movement, seek medical or physiotherapy assessment.
Should I do long static stretches before training?
For this session, a short, dynamic progression is usually more practical: move, activate and lightly rehearse the main exercise. Longer static stretching can be done separately when it suits your goal and is well tolerated.
Conclusion: prepare rather than force
A good shoulder and wrist routine does not have to be spectacular. It starts gently, increases the load gradually and ends where your training is about to begin. If push-ups, dips or pull-ups feel calmer and better coordinated afterwards, it has done its job. If not, that is not a signal to mobilise harder — it is a reason to adjust the variation, range of motion or day's load.
Sources and context
- McCrary et al. (2015): Effects of upper body warm-up on performance and injury — systematic review; direct studies of injury prevention through upper-body warm-ups were lacking.
- Fradkin et al. (2010): Effects of warming-up on physical performance — systematic review and meta-analysis of performance effects.
- Polovinets et al. (2018): Force transmission through the wrist during push-ups — biomechanical comparison of extended and neutral wrist positions.
- Daly et al. (2018): Effect of Push-Up Position on Wrist Joint Pressures — laboratory study using specimens; apply the findings to practice cautiously.
- Gesundheitsinformation.de: Shoulder Pain — overview of possible causes, assessment and treatment.
Updated: 9 September 2026. This article provides general information and does not replace diagnosis, treatment or individual medical advice.