
Training technique · Strength & body control
Pull-Ups and Dips Without Swinging.
How to improve your body control.
You can do several repetitions — but your legs swing and your position changes more and more? Then a technique check is worthwhile. Learn how to spot unwanted momentum, reduce the difficulty sensibly and build controlled repetitions.
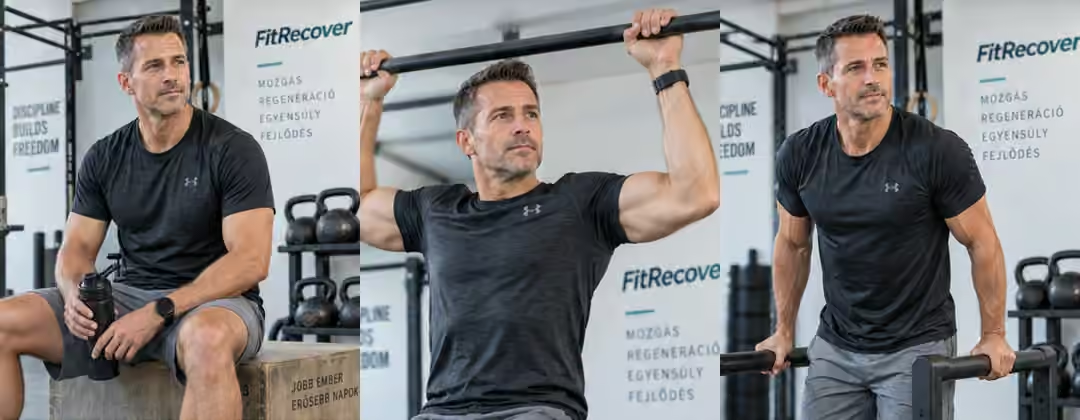
The most important point first
Do not force more. Improve your control.
The goal of this guide is a controlled pull-up or parallel-bar dip without assistance from kipping. End a set when you can complete the planned movement only by adding leg swing. Then choose an easier variation. Small natural changes in position are not automatically mistakes — your training goal, control and absence of pain are what matter.
Important: A video of your movement is a tool for self-observation, not a test that can reliably diagnose a particular muscle weakness or injury.
01 · Observe rather than guess
How can you recognise unwanted swinging?
Film a short set from the side without working at maximum effort. Keep the bar or parallel bars, shoulders, pelvis and feet in the frame. Compare your first repetition with your last and ask yourself three questions:
How does the movement start?
Do you pull or push yourself up with control — or begin the repetition with a clear drive from your hips or legs?
Does your position remain consistent?
A slight forward lean or bent knees may suit the variation. What deserves attention is a posture that changes increasingly with every repetition when that is not your intention.
Do you control the return as well?
Can you lower yourself deliberately without dropping into the bottom position? Choose a range of motion you can control without pain.
Record your repetitions, assistance and range of motion. This lets you compare similar conditions rather than chase a bigger number. A slower descent is used here as a learning aid, not as proof that very slow repetitions are inherently superior.
02 · Pull-ups
A still starting position is your starting point.
Use a securely installed bar with adequate load capacity. Grip it firmly with closed hands and choose a grip you can control without discomfort. For this introduction, use an approximately shoulder-width overhand grip; an available neutral grip can be an alternative.
- First, become still. Where possible, step into the hang from a stable raised support rather than jumping and swinging onto the bar.
- Engage your trunk deliberately. Keep your ribcage and pelvis in a position that feels stable. Avoid deliberately compensating with an excessive back arch, without rigidly flattening your back.
- Pull up without kicking your legs. Drive your elbows down and keep your head as neutral as possible. You do not need to force your chin over the bar by jutting your neck forwards.
- Return with control. Let your elbows straighten as far as you can control the hang without discomfort. Stop the set before every repetition needs a fresh swing.
Do not hold your shoulder blades rigidly down and back throughout the entire movement. Studies show that different grips produce different shoulder and shoulder-blade movements. This does not establish one universal grip width or reliably predict your individual injury risk. [2]
03 · Parallel-bar dips
Control the depth rather than forcing it.
Here we mean dips between stable parallel bars, not bench dips with your hands behind your back. Use a stable setup and a safe way to get into and out of position.
- Become stable at the top. Press up into the support position. Bend your knees if you need more clearance from the floor; that is not automatically incorrect technique.
- Lower yourself evenly. Bend your elbows and allow a slight, controlled forward lean of your torso. Avoid suddenly tipping forwards or swinging your legs.
- Choose your depth. Go only as deep as you can maintain tension and control without pain. A particular elbow angle is not a compulsory target for every body.
- Press up without bouncing. Return to the top support position without bouncing at the bottom or jerking into your elbows at the top.
Bench, parallel-bar and ring dips differ biomechanically. A small study of 13 experienced men found, among other differences, greater shoulder extension during bench dips. It proves neither that every bench-dip repetition is harmful nor that ring dips are automatically a better beginner exercise. We therefore start here with a stable setup whose difficulty can be adjusted easily. [3]
04 · Adjust the difficulty appropriately
A regression is a training tool, not a step backwards.
A regression means an easier variation of an exercise. First, test whether fewer repetitions, longer rests or some assistance let you perform the movement as planned. If it remains hard to control even when you are rested, choose a clearly easier variation.
| Purpose | An adjustable starting point | What to watch for |
|---|---|---|
| Prepare for a pull-up | Rows on a low bar or low-hanging rings; alternatively, a machine-assisted pull-up. | Make rows easier at first: stand more upright and plant your feet securely. Move your trunk as one unit. |
| Practise the pull-up | A suitable long assistance band or assisted-pull-up machine. | Use just enough help to control the repetition without a leg kick. Band tension changes throughout the movement. |
| Prepare for a dip | Elevated push-ups, followed by foot-assisted support holds or dips on suitable low bars. | Adjust the load and depth. Do not treat a deep bench dip as a universal substitute. |
| Practise trunk control | Dead bugs or a short forearm plank on a mat. | Keep breathing calmly, hold your position and stop before you compensate with a strong arch in your lower back. |
Bands can help — but not every attachment is suitable.
Use a long assistance band designed for the purpose and follow its instructions. A short mini band or tube with a door anchor is not an interchangeable substitute. Check the band, stitching, bar and attachment before every use. Use a stable step if needed and exit carefully: a stretched band must not snap back uncontrollably. [4]
For dips, also remember: Use band assistance only with a setup intended by the manufacturer for this application. Improvised connections between free-standing bars can change the stability of the setup. When in doubt, an assistance machine or a suitable foot-assisted variation is the better choice.
05 · From knowledge to routine
A manageable technique block for your training.
The following example is editorial guidance for healthy adults, not an individually prescribed training plan. Choose variations easy enough that you could still perform about two controlled repetitions at the end of a set. Leave at least one day between sessions without another heavy load on the same muscles.
5–8 minutes of gentle movement and easy rehearsal sets that gradually increase in difficulty. A useful complement is our shoulder and wrist routine.
Do 2–3 sets each of a suitable pulling and pushing variation. As a starting example: 4–6 assisted pull-ups and 4–6 assisted dips; for easier rowing or push-up variations, about 6–10 repetitions.
Rest for about 90–150 seconds between demanding sets, or longer if needed. Afterwards, optionally do 2 short sets of dead bugs with 4–6 slow repetitions per side.
For example, start with two sessions per week and adapt the volume and spacing to your recovery. Change only one thing at a time: a little less assistance, one extra repetition or a slightly larger range you can control. As a practical guide, test a progression when the same variation feels stable in two consecutive sessions. This is a planning rule, not a scientifically validated readiness test.
06 · Advertising / useful training aids
Four useful tools. No compulsory purchases.
Start with what you already have. A band makes the pulling movement easier; a mat makes floor exercises more comfortable. Dumbbells and rings are optional additions to strength training — they will not fix technique problems on their own.
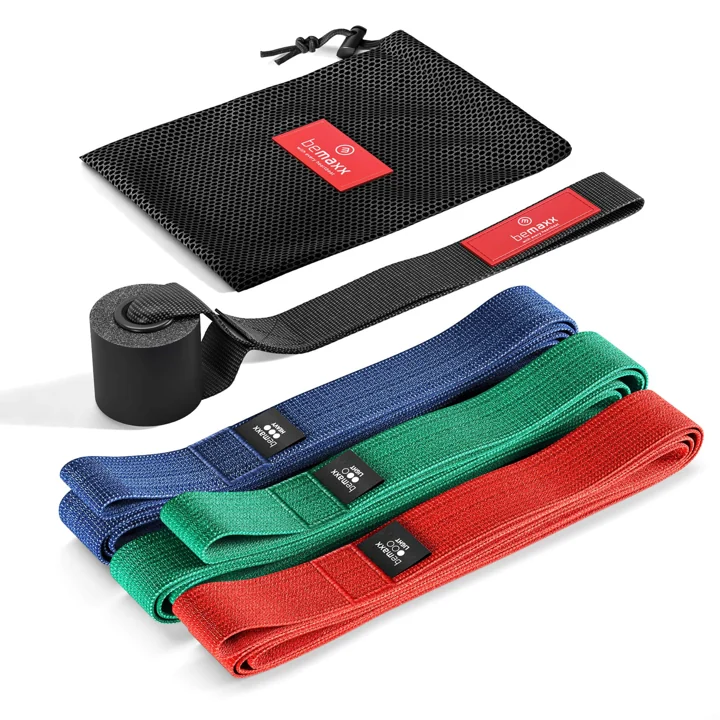
Assistance for pull-ups
BeMaxx Pull Up Band Textile Set
An option for adjusting the assistance you receive during pull-ups. Choose the resistance and handling according to the manufacturer's instructions; do not assume it can be used for dips without a suitable setup. [4]
View on Amazon* ↗Compare resistance bands →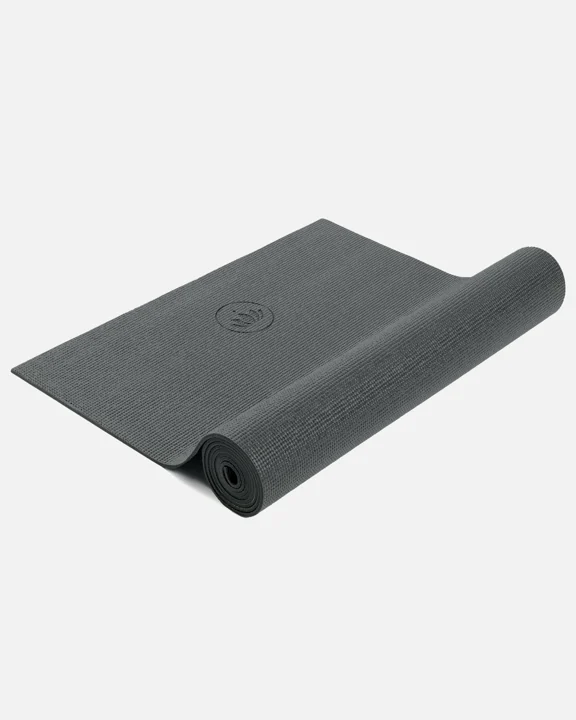
A surface for floor exercises
Lotuscrafts MUDRA Studio
This 5 mm mat is an option for calm floor exercises and your mobility routine. Use it on a clean, level surface; it is not a crash mat for use beneath a bar or rings. [5]
View on Amazon* ↗Compare yoga mats →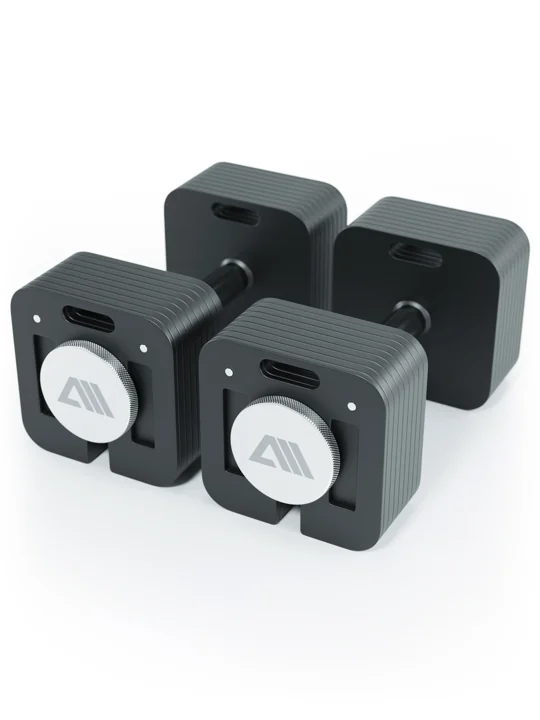
An optional strength-training addition
ATLETICA QUAD 36
Adjustable dumbbells for supplementary strength exercises such as controlled rows. Choose a light weight you can handle safely and check the locking mechanism before every set. You do not need added weight for pull-ups or dips in this technique block. [6]
View on Amazon* ↗Compare dumbbells →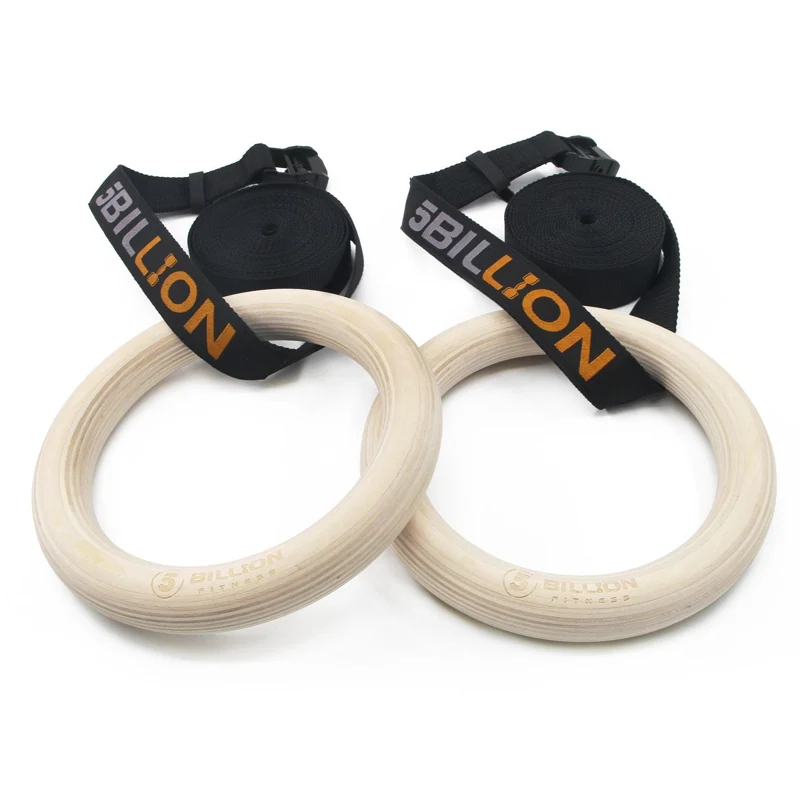
Rows with your feet on the floor
5BILLION wooden gymnastic rings
For low ring rows with your feet on the floor. Check the straps, buckles, equal ring height and a load-bearing attachment point explicitly suitable for this use. Unsupported ring dips are not the first step recommended here.
View on Amazon* ↗Read the calisthenics introduction →* Affiliate link to Amazon.de. Product photos come from the existing FitRecover product catalogue. Colour, included accessories and the specific offer may differ; the retailer's listing takes precedence. No price or availability guarantee.
Frequently asked questions
What you do not need to overcomplicate.
Are crossed legs or bent knees automatically wrong?
No. Leg position can depend on your height, floor clearance and the exercise variation. For our technique check, what matters is whether you control that position or force a repetition with an extra impulse from your legs.
Do I always need a pronounced hollow-body position?
No. For this introduction, a repeatable trunk position matters more than an exaggerated curve. Use abdominal tension as a guide and do not force your back or shoulder blades into a rigid posture.
How deep should a dip be?
As deep as you can control the movement in your chosen setup without discomfort. A blanket rule requiring your shoulders to go below your elbows does not suit everyone. Do not force the exercise if it causes symptoms.
Does swinging prove that my abs are too weak?
No. The cause cannot be established reliably from one visible movement alone. Load, fatigue, coordination, mobility and your chosen variation can all play a part. First, see what changes when you use an easier version.
Do I need all four recommended products?
No. Existing gym equipment may be entirely sufficient. Buy only the tool that suits your next specific training step and a safe setup.
The FitRecover conclusion
The next good repetition is what counts.
Film a short set, reduce the difficulty when necessary and practise a position you can control repeatedly. More assistance may be the right next step. Here, progress does not mean completing every repetition at any cost. It means performing your chosen movement reliably.
Sources & editorial context
The technical guidance combines general training principles with the sources below. Small biomechanical studies explain differences between variations but do not replace an individual movement assessment. The sample plan is editorial guidance. AI illustrations do not document real exercise attempts or prove a particular standard of technique.
- AAOS OrthoInfo: Rotator Cuff and Shoulder Conditioning Program. Context on symptoms and exercise load.
- Prinold & Bull: Scapula kinematics of pull-up techniques (2016). Observational study of eleven people who trained regularly.
- McKenzie et al.: Bench, Bar, and Ring Dips: Do Kinematics and Muscle Activity Differ? (2022). Comparison involving 13 experienced men; not a long-term injury study.
- BeMaxx: Textile Pull Up Bands Set. Manufacturer information on intended use and the product.
- Lotuscrafts: MUDRA Studio Yoga Mat. Manufacturer specifications for the mat.
- ATLETICA: QUAD Adjustable Dumbbells. Manufacturer specifications; check the exact version with the retailer.